Go to Products > Add New in your dashboard.

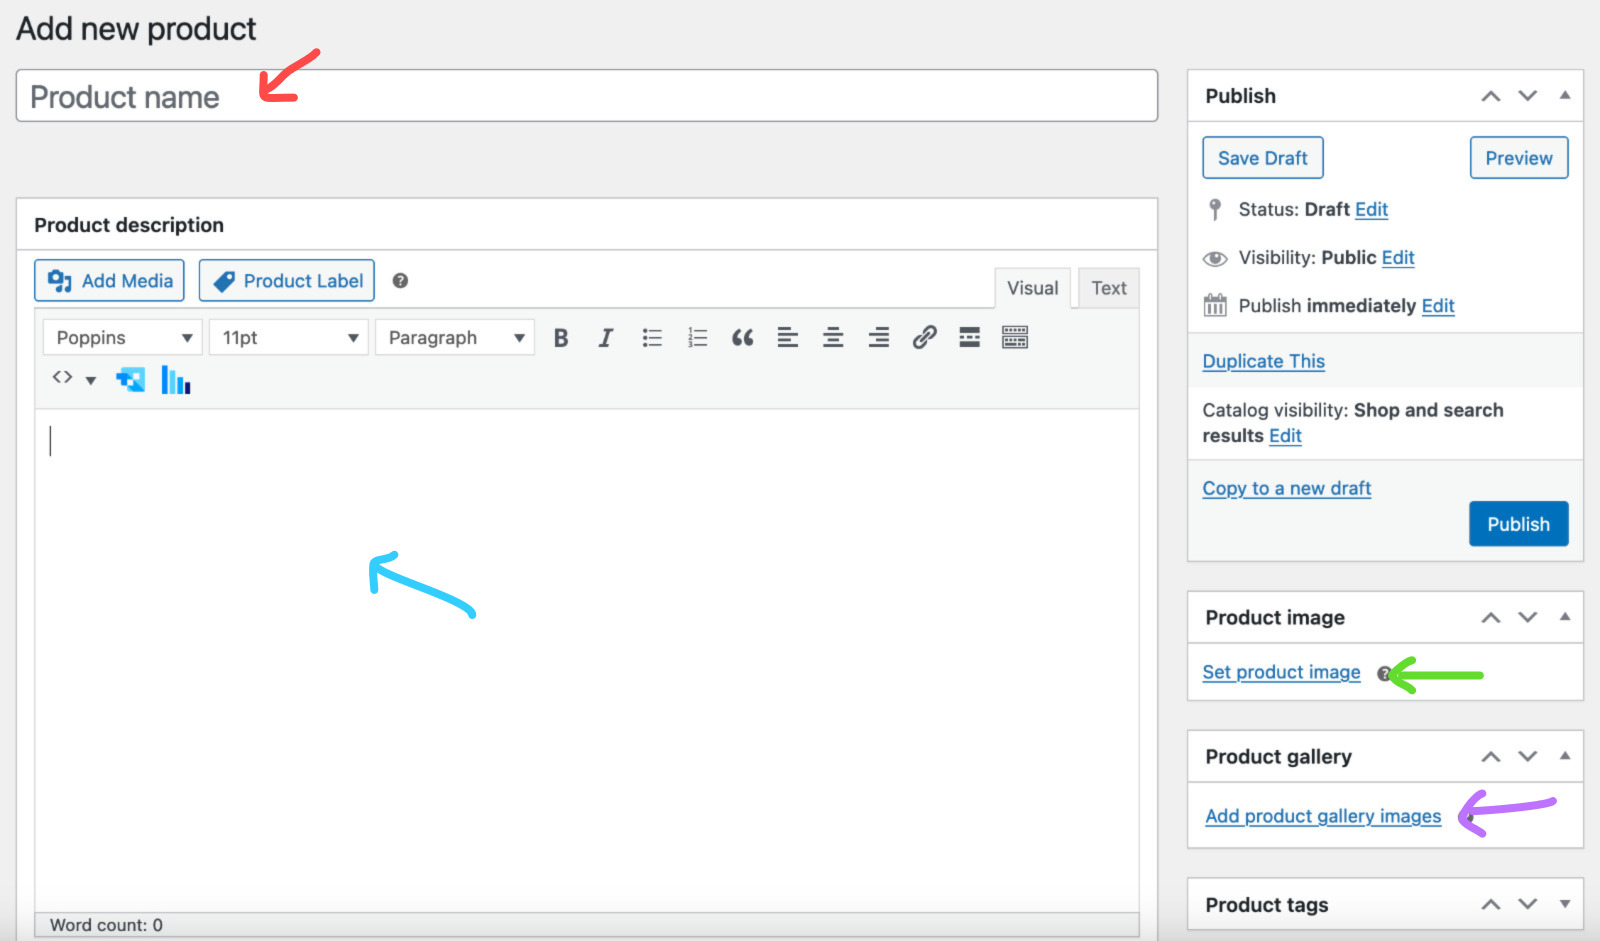
- Enter the product name.
- Enter the product description.
- In the Product image panel in the right-hand column, click the Set product image link (this will be the main image). Select the image you want to use and click the Set product image button. For fashion products, the image size is 1000 x 1500 pixels. Other than fashion, the standard image size is 1000 x 1000 pixels. The image format must be in jpg/jpeg.
- Add product gallery images for additional images. You can upload multiples images at once.
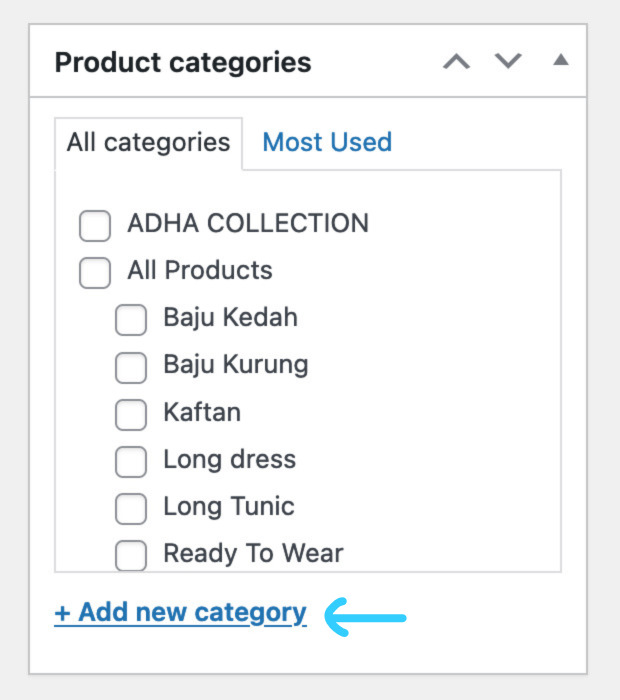
In the Product categories panel in the right-hand column, tick which category this product belongs to. You can choose multiple categories for easier navigation. If the product belongs to a new category which is not in the category list, click the Add new category link to add the category.
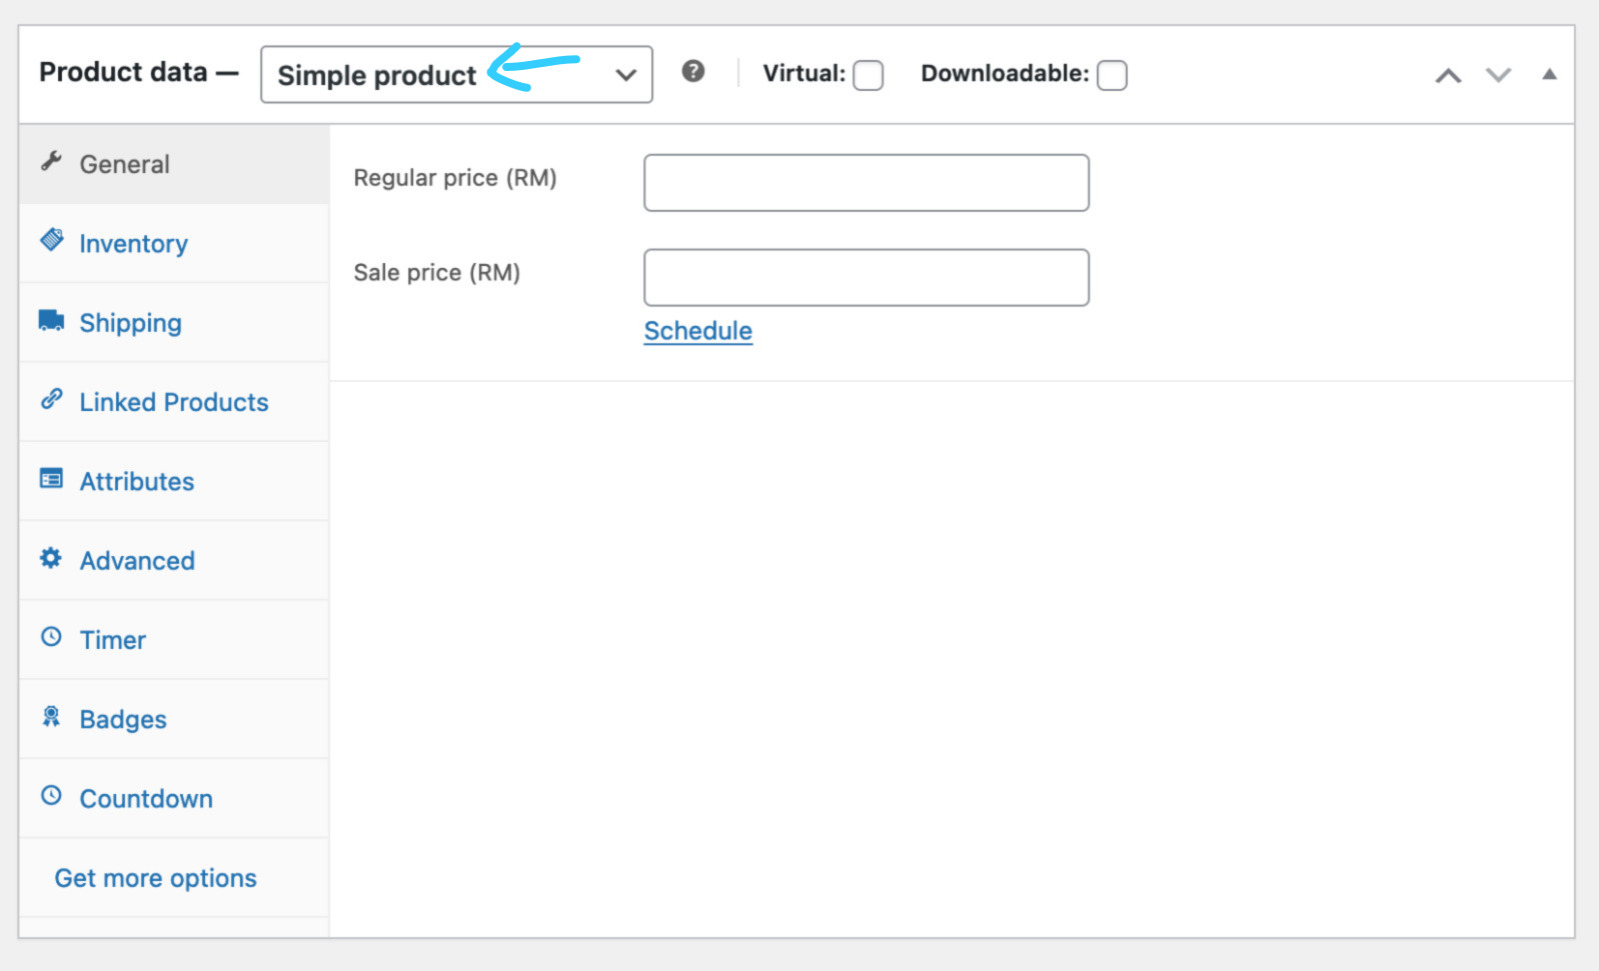
In the Product data > General section, the Product type should default to Simple product. Simple product is a product which do not have any variations/options such as sizes.
Enter an amount in the Regular price field.
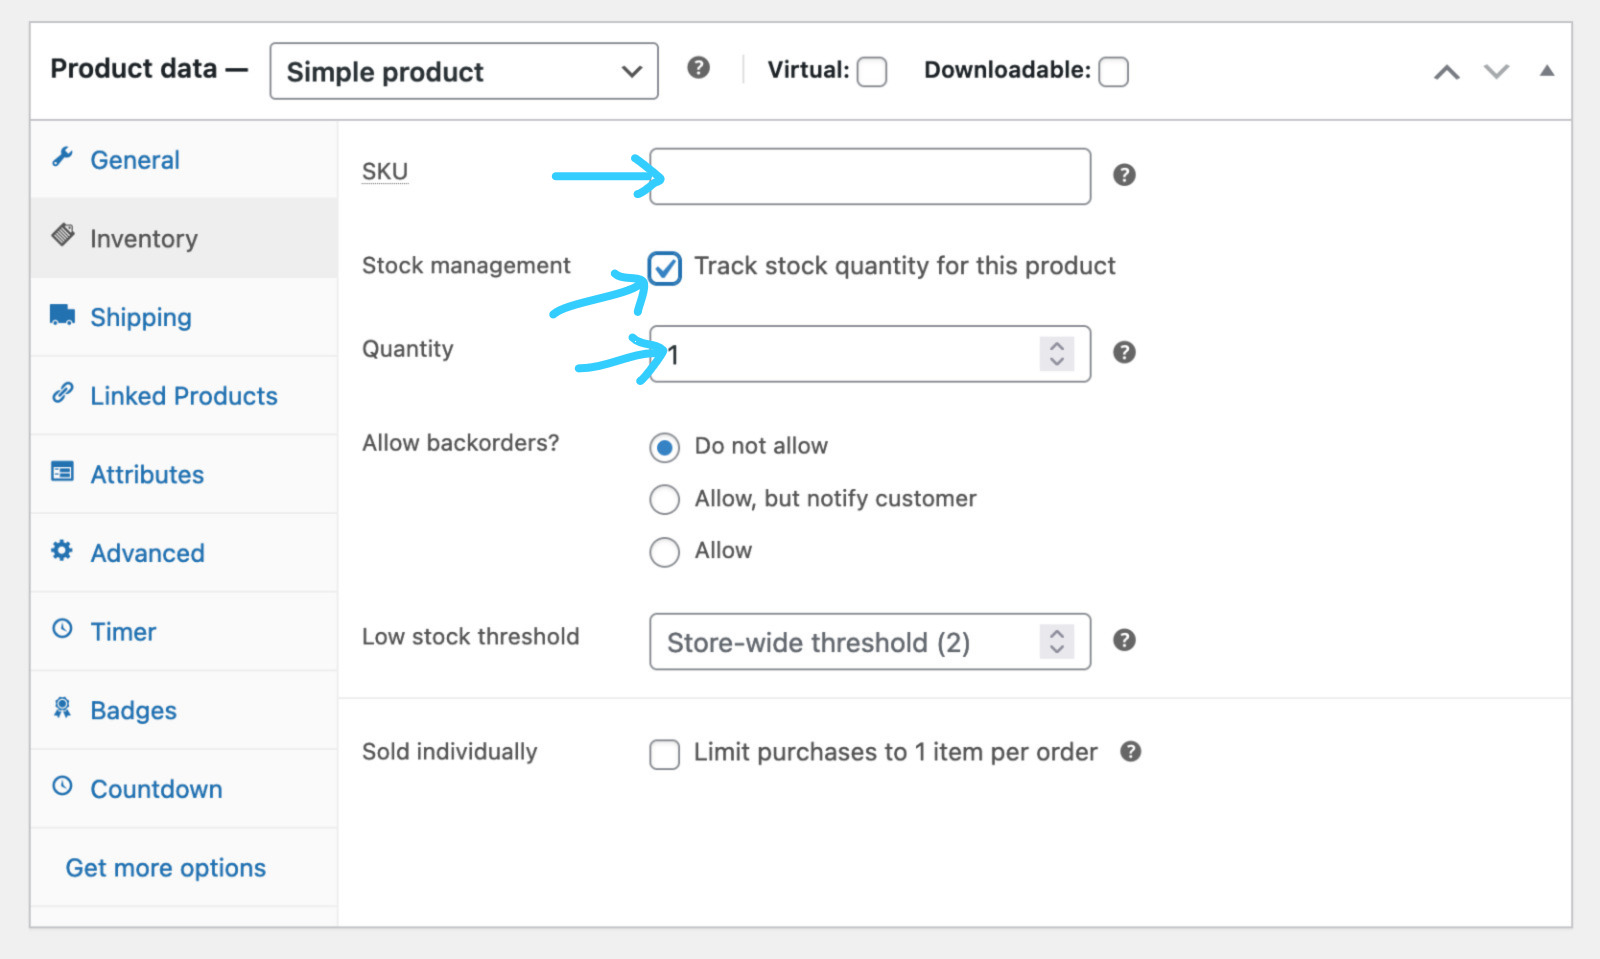
In the Inventory section, enter the SKU (product code). SKU must be unique.
Tick the Stock management checkbox and fill in the stock in the quantity box.
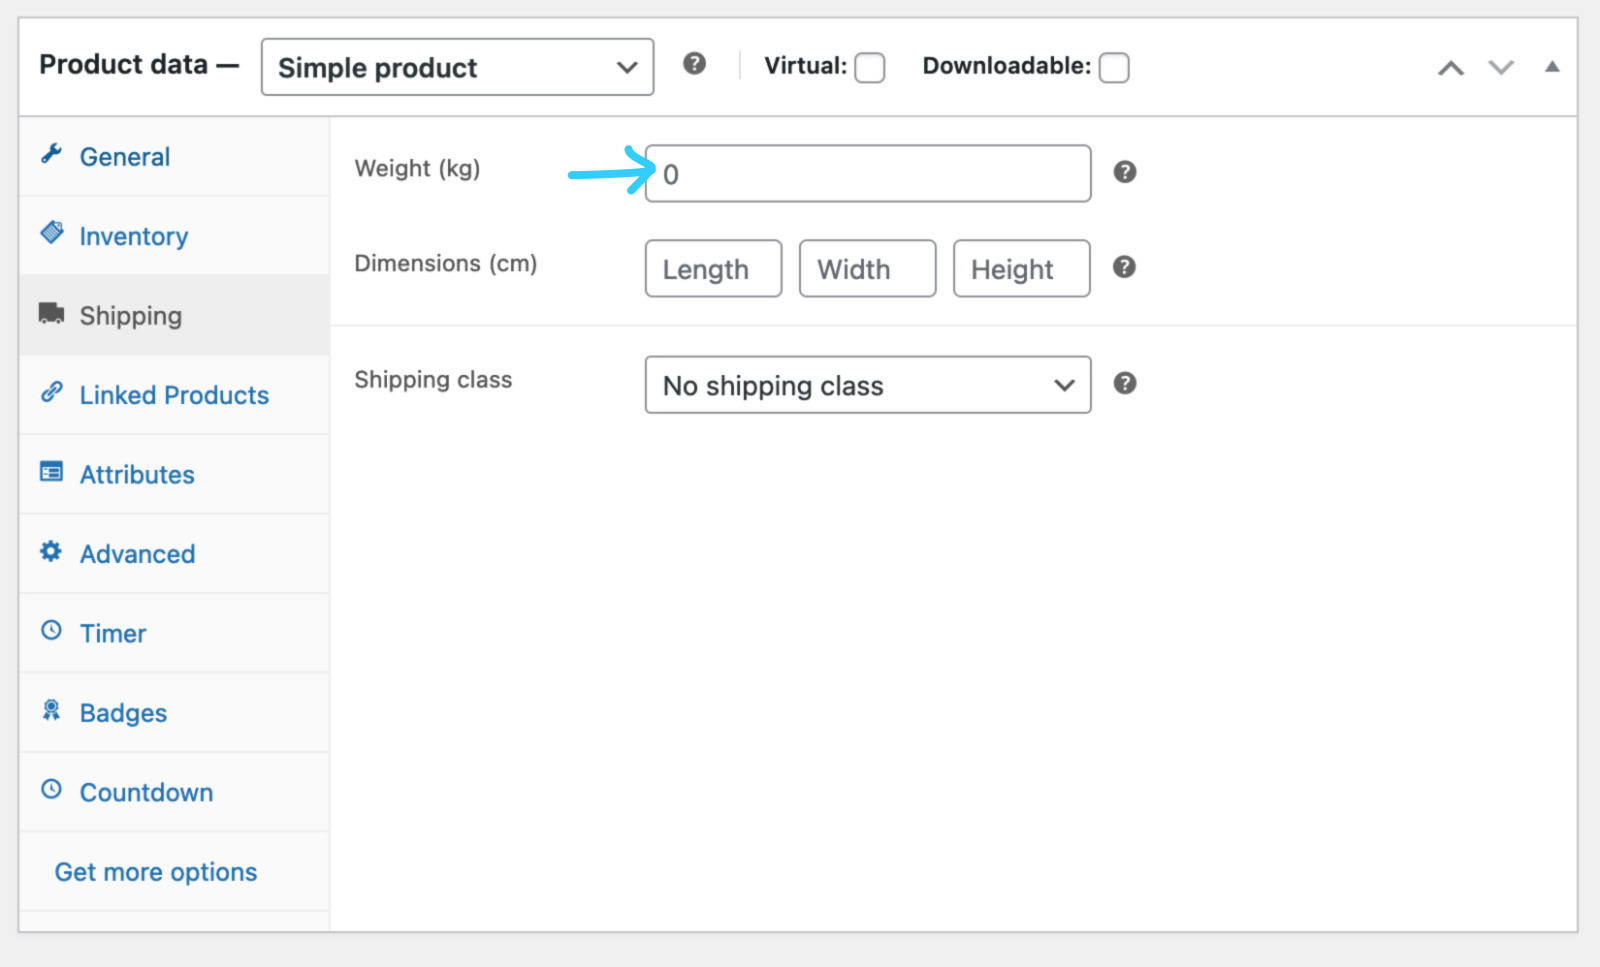
In the Shipping section, enter the product weight so that shipping cost can be calculated at checkout page.
Click the Publish button in the Publish panel at the top right-hand column.
Settings for products with Variations/Options
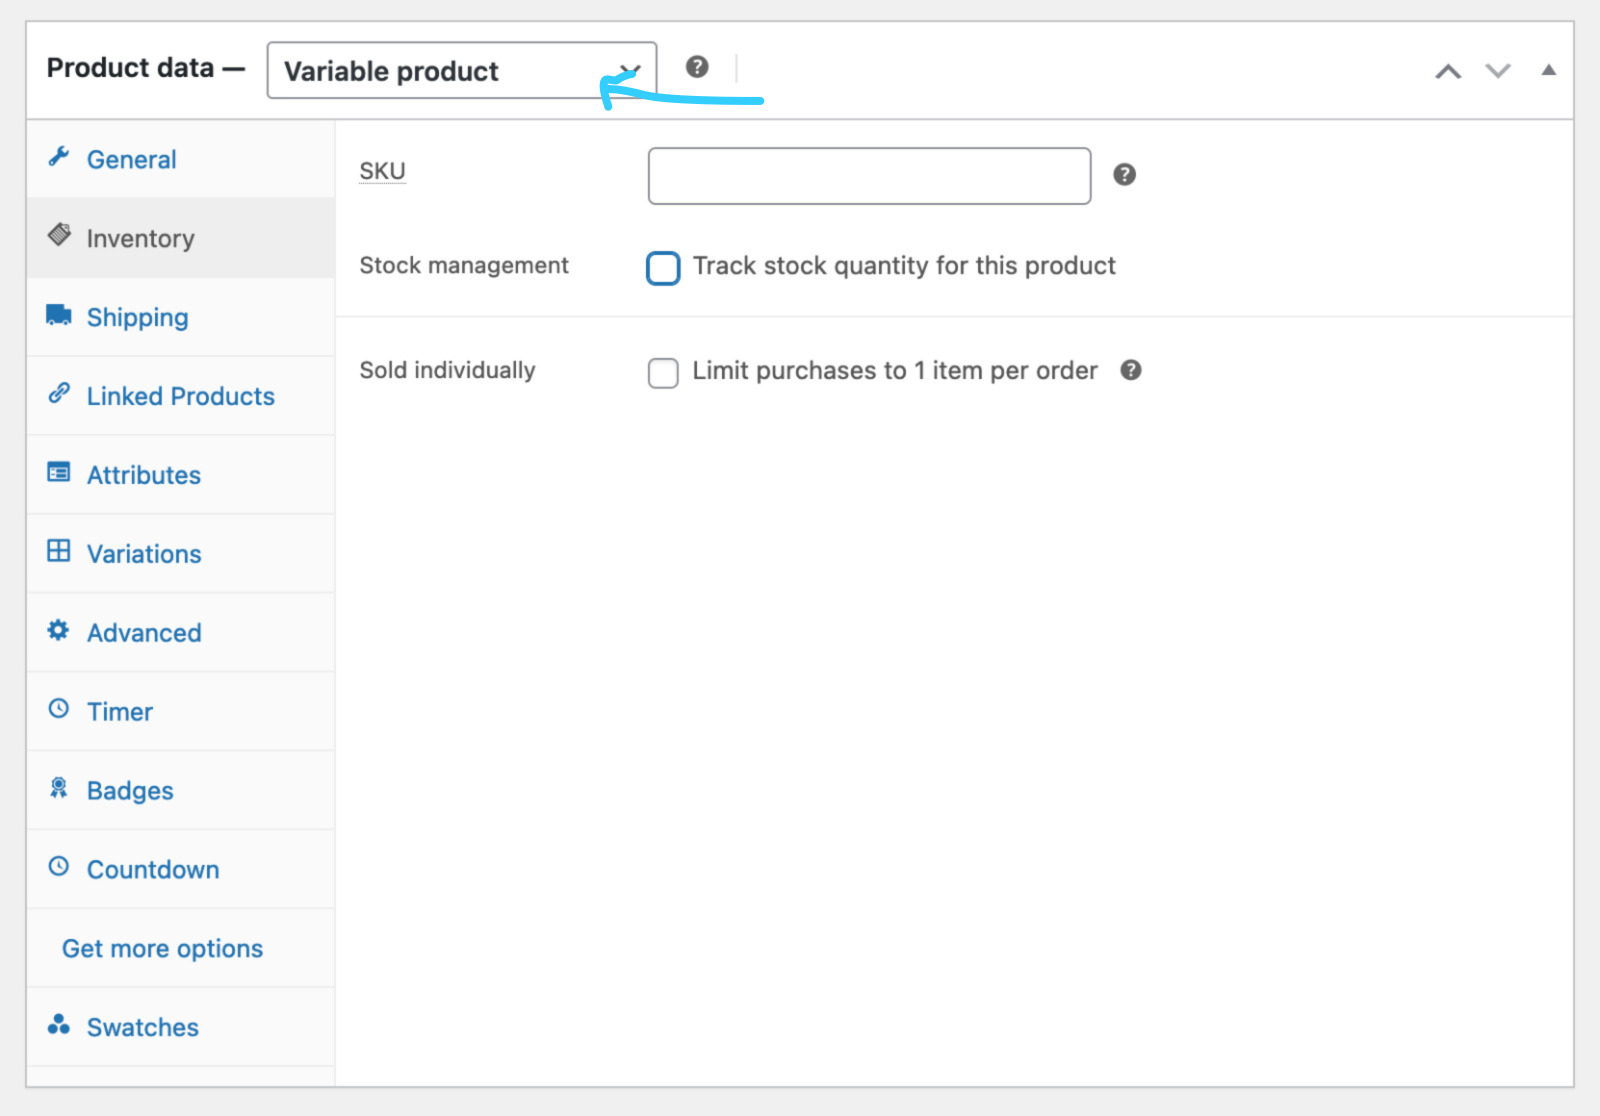
In the Inventory section, choose Variable Product from the Product data dropdown menu.
SKU should be left empty & Stock management checkbox should be left untick. We will set both the SKU & quantity for each product variation/option in the Variations section.
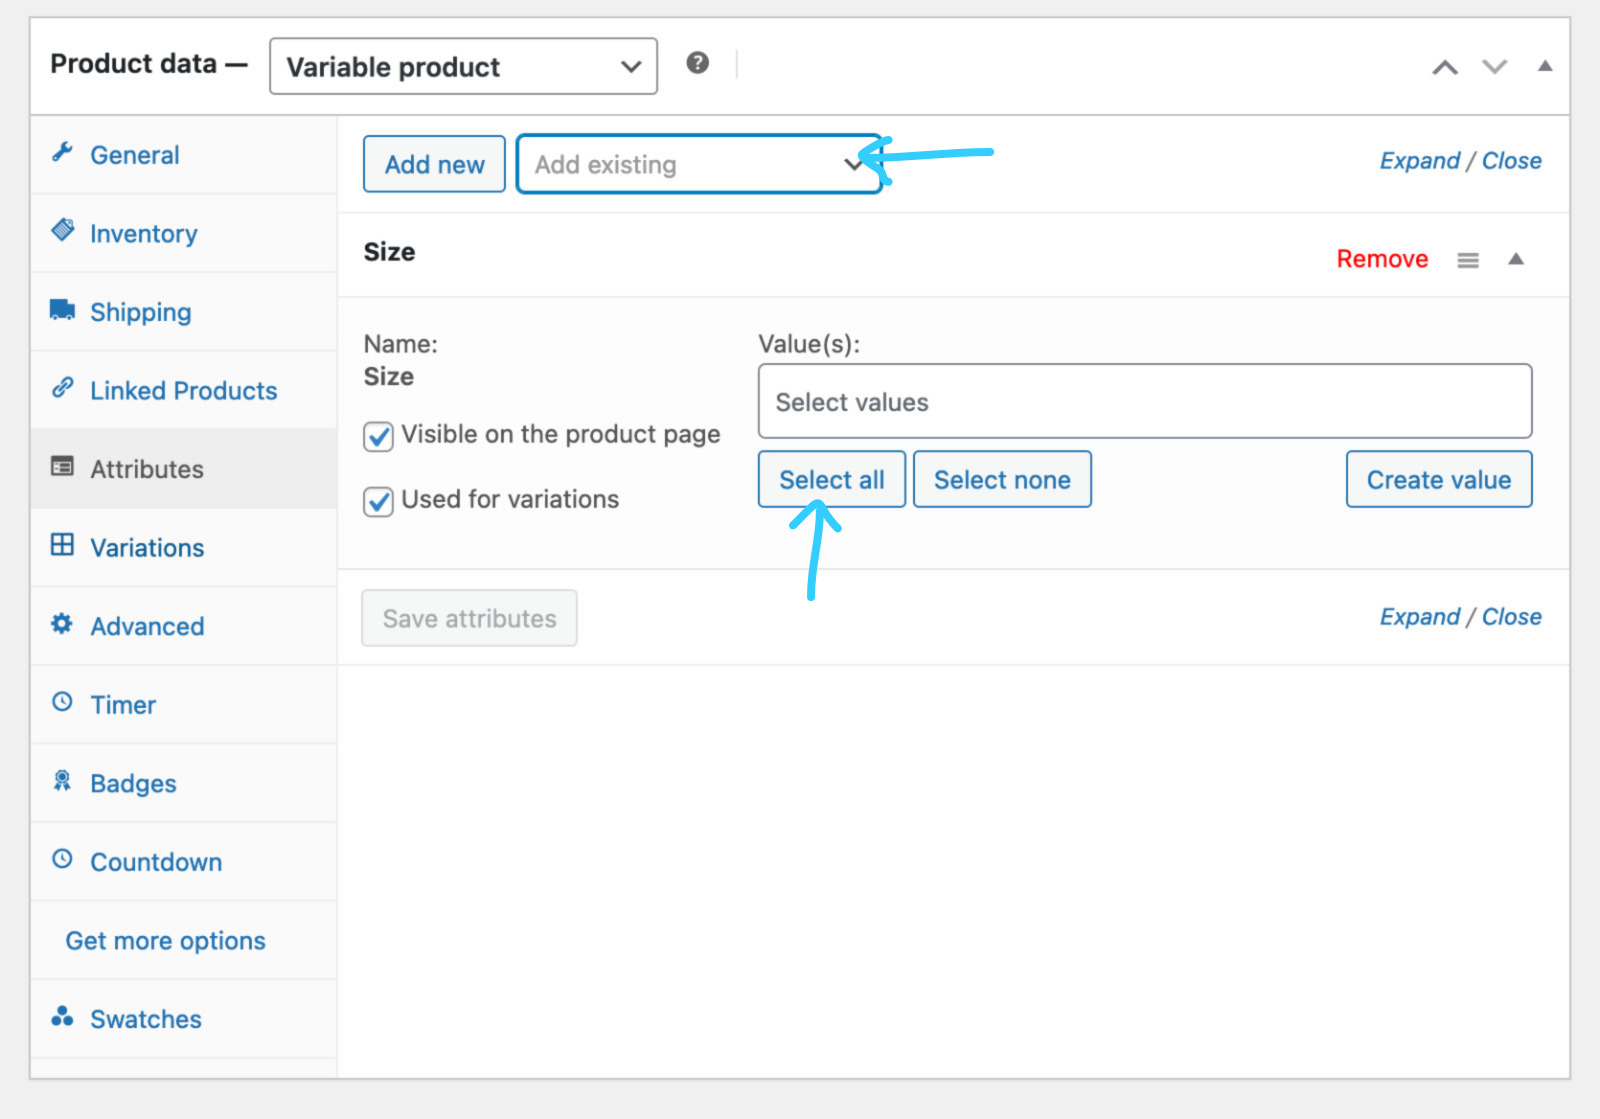
In the Attributes section, add either existing attribute from the dropdown menu (such as size) or create a new one.
Select the variations/values you’d like to use from that attribute. You can add them all by clicking the Select All button below the values box or you can select specific ones you want to use by clicking on the Select Values box and selecting them one by one.
Click the Save Attributes button.
In the Variations section, fill in as below:
- Image – Click the placeholder to add an image. This is a must if the product image for each variation is different.
- SKU – Enter the SKU for each variation.
- Enabled – Tick the checkbox to enable the variation.
- Quantity – Tick the Manage Stock checkbox and fill in the stock in the stock quantity box
- Regular Price (compulsory) – Set the price for this variation. Variations without prices will not show in the website front-end.
- Sale Price (optional) – Set a price for this variation when on sale.
- Weight – Set the weight for each product variation.

Click the Update button in the Publish panel at the top right-hand column to save changes.
